How to Build Your Own Floating Dock
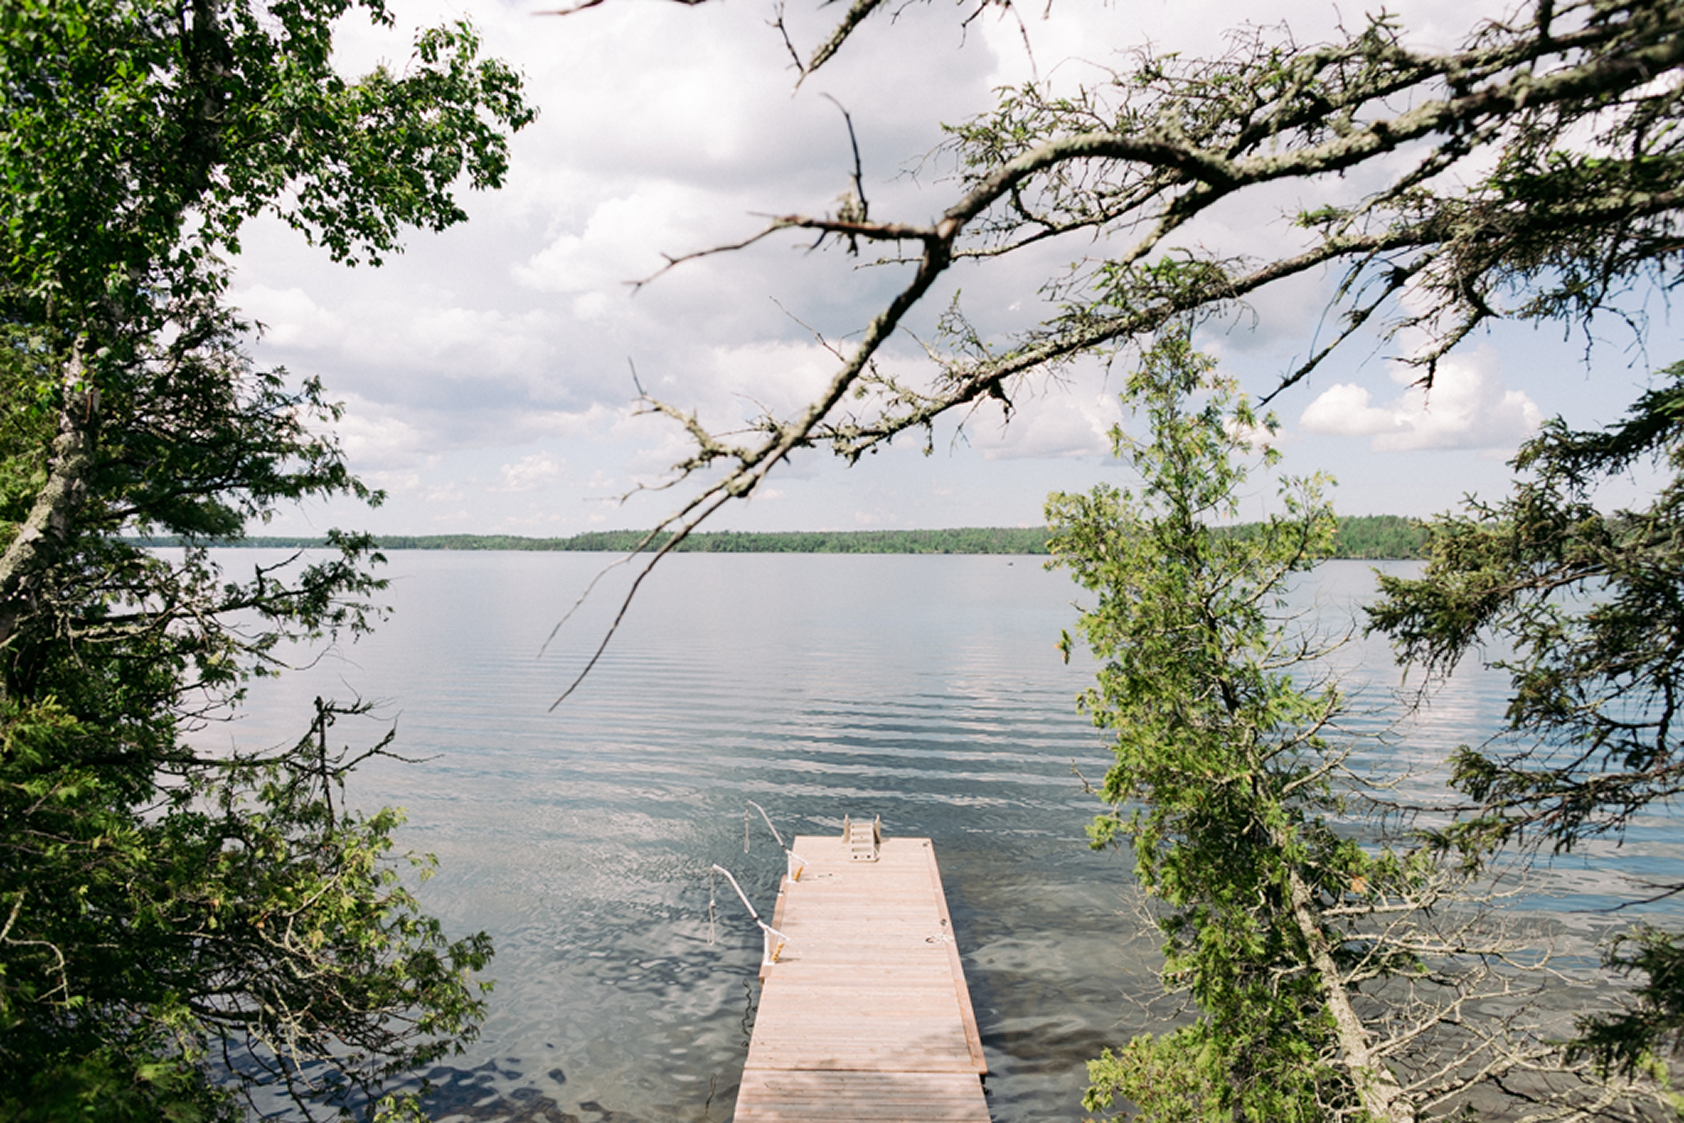
A floating dock is one of the most approachable DIY projects out there. Unlike a fixed dock, it doesn't require driving posts into the lakebed, it adjusts naturally with water level changes, and may be best for Whiteshell area cottagers.
A floating dock can be pulled out before the ice arrives each fall, so you're not fighting the freeze and thaw every spring
Why Choose a Floating Dock?
Lake levels around Falcon Lake, the Whiteshell and Lake of the Woods can shift throughout the season, and a fixed dock doesn't always handle that gracefully. A floating dock rides up and down with the water, stays level, and is far easier to remove before winter. It's also a genuinely manageable build. With basic carpentry skills, a weekend or two, and the right materials, you can have a sturdy, good-looking dock ready for the season.
Planning Your Project
Check local regulations. Shoreline structures are often subject to permits or setback rules through your RM or provincial park authority. A quick call to Lumber One will help verify this.
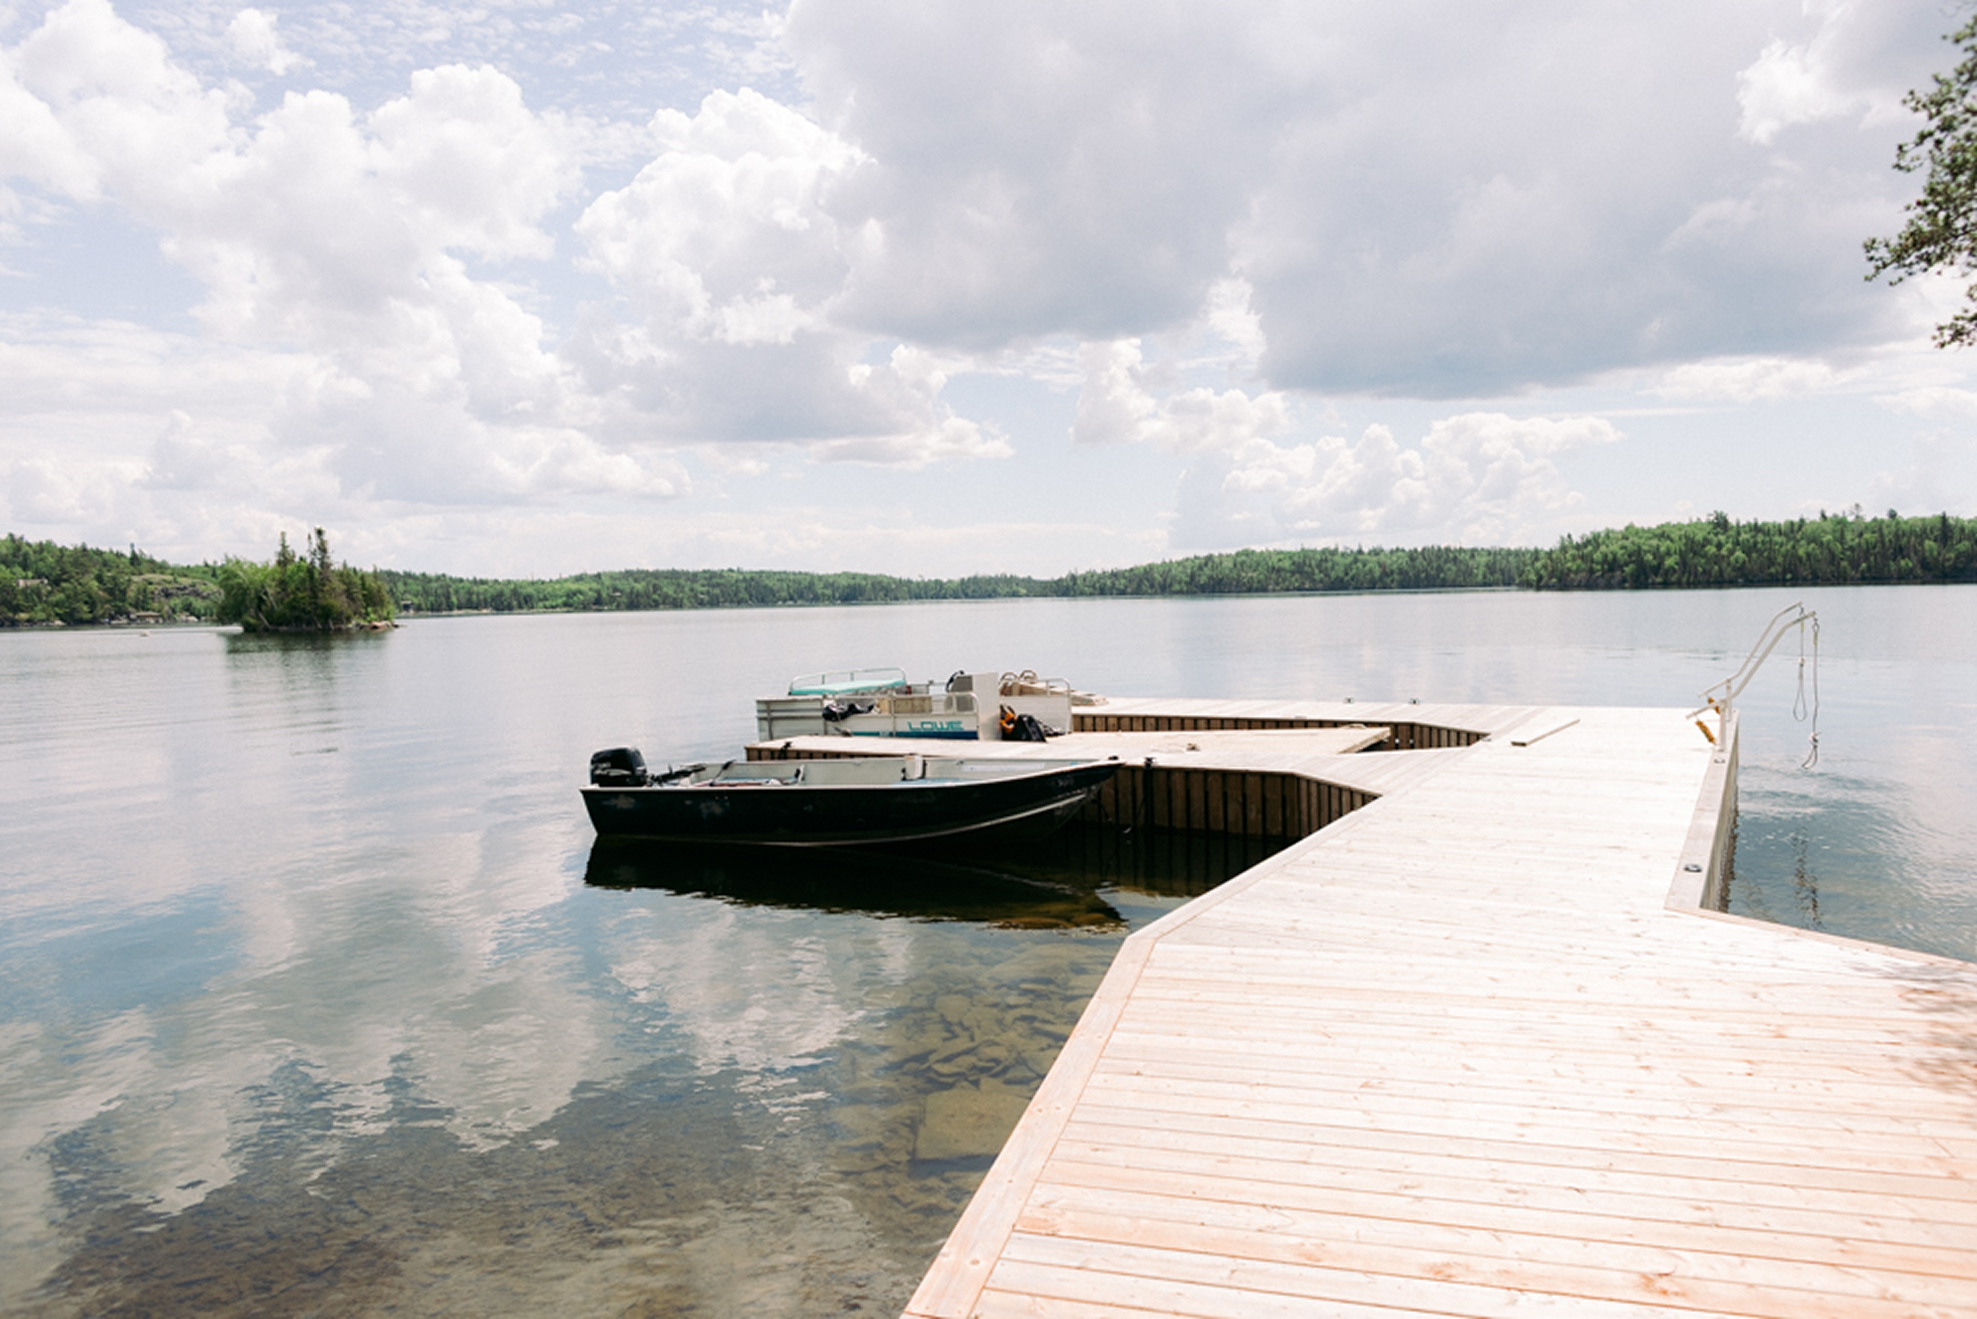
Size it to your shoreline. Think about water depth, how you'll use the dock (swimming, boat mooring, lounging), and how it'll look relative to your property. A 4x8 or 8x8 foot module is a common, manageable starting size – and modules can be linked together later if you want to expand.
Set a rough budget. Costs vary with size and material choices, but budgeting for lumber, hardware, and flotation upfront will help you avoid surprises mid-build.
Materials & Tools Checklist
Here's what you'll need for a standard modular floating dock section.
MATERIALS
Pressure-treated lumber (2x6 and 2x8 are typical for framing)
Marine-grade or hot-dipped galvanized bolts, screws, and brackets (regular hardware will rust quickly on the water)
Flotation drums or foam-filled dock blocks
Decking boards - pressure-treated wood or a composite decking option for lower maintenance
Exterior-grade sealant or stain
Anchoring hardware (chain, anchors, or a mooring pole system)
TOOLS
Circular saw
Drill/driver
Level
Tape measure
Socket set (for bolting the frame)
This is one of those projects where having everything on hand before you start makes a huge difference because nothing kills DIY momentum like a mid-build trip back into town. Lumber One in Falcon Lake carries the full list under one roof, from framing lumber and galvanized hardware to flotation blocks and decking, so it's worth planning your trip as a single stop rather than several.
Step-by-Step Build
1. Build the Frame
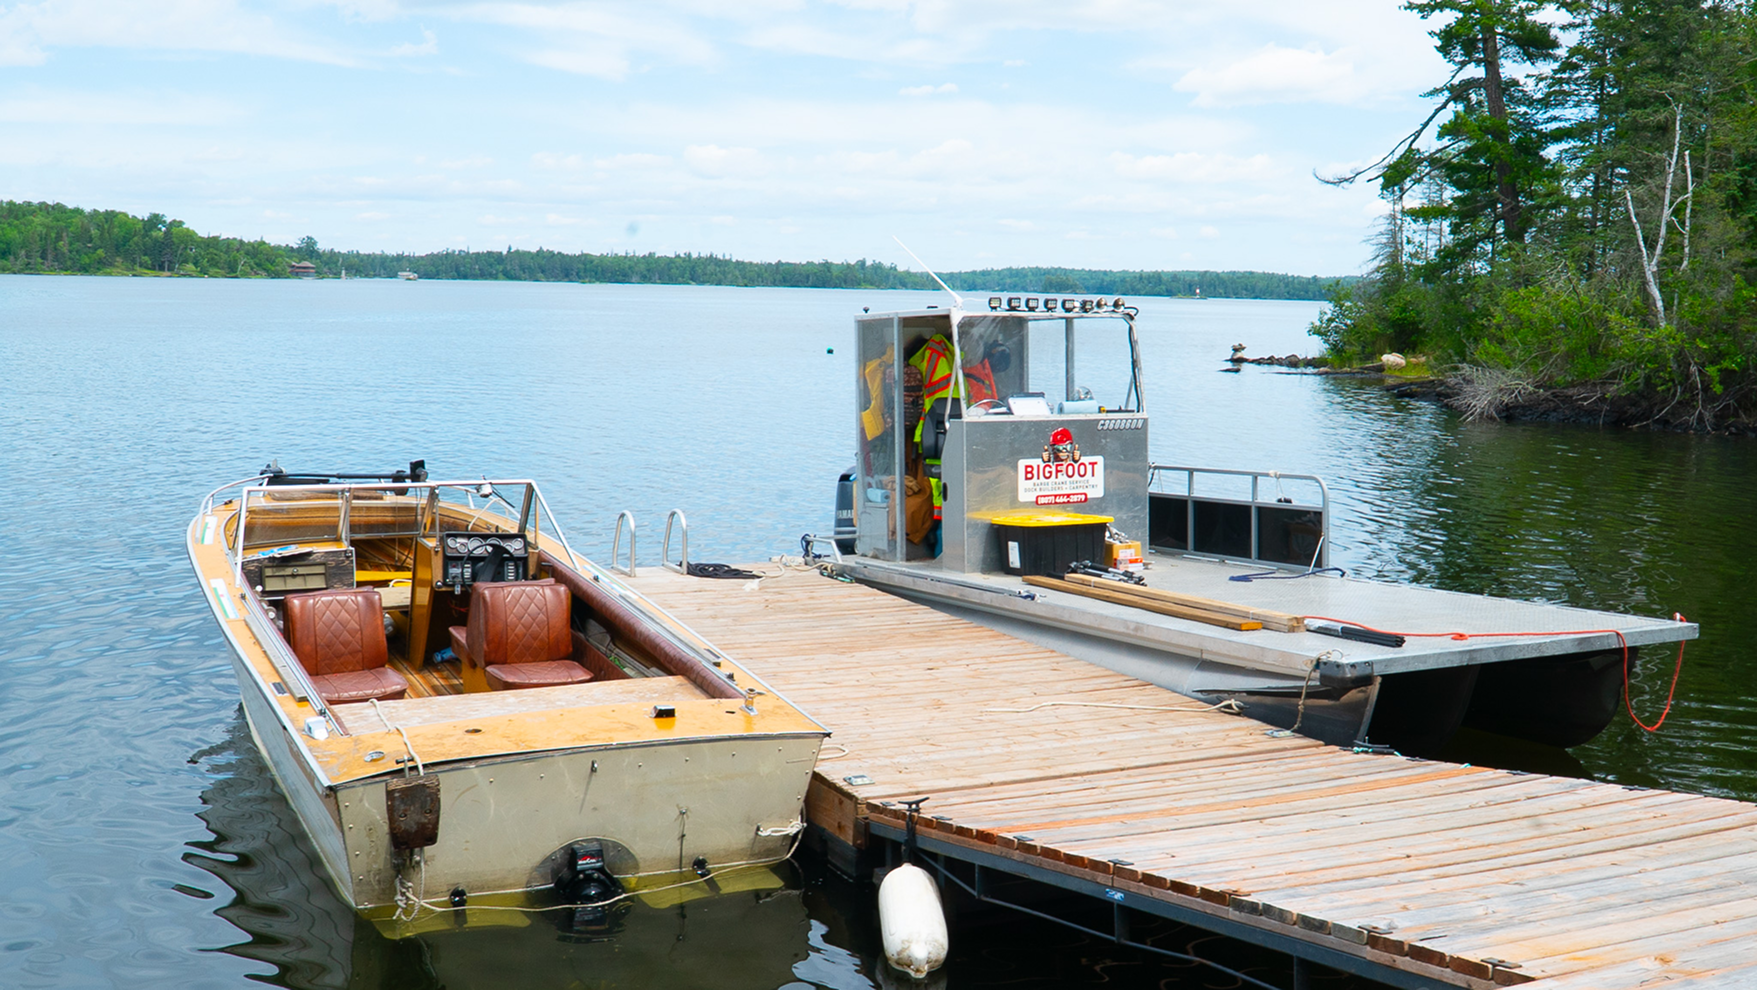
Cut your pressure-treated lumber to size and assemble the perimeter frame first, checking corners for squares as you go. Add interior joists spaced roughly 16 inches apart for support under the decking.
2. Attach the Flotation
Secure flotation drums or blocks to the underside of the frame according to the manufacturer's spacing guidelines. Even weight distribution here is what keeps your dock riding level in the water.
3. Install the Decking
Lay and fasten your decking boards across the frame, leaving a small gap between boards for drainage and expansion. Composite decking costs more up front but saves on maintenance over the years.
4. Set Up Anchoring
Depending on your shoreline and lake bottom, you can anchor with a chain-and-weight system or a mooring pole setup that lets the dock float freely up and down the pole. Talk through the right option for your site before committing.
Finishing Touches
Apply a quality exterior sealant or stain to protect the wood from sun and water exposure as this alone will add years to your dock's life.
Add accessories once the structure is solid: a ladder for swimming access, cleats for tying up a boat, or solar dock lights for evening use.
Maintenance & Seasonal Care
Pull it before ice-in. This is the single most important step for longevity on a Manitoba lake – ice movement is hard on anything left in the water over winter.
Store it properly. Keep it up on blocks on shore, away from direct ground contact, over the off-season.
Inspect annually. Check hardware for rust or looseness, look over the flotation for wear, and reseal the wood every couple of seasons.
The Lumber One Advantage
A floating dock is a project you can genuinely finish in a weekend or two, and the payoff is your own spot on the water and makes it one of the most satisfying upgrades you can make to a cottage property.
If you're planning your build, stop by Lumber One in Falcon Lake. Our team can help you put together a materials list, a cut list for your specific dock size, and make sure you've got the right hardware for the job before you ever pick up a saw.